16 May 2020

9. Still quarantined, but making progress

Well, here we are in mid May with some quarantine rules lifted but the economy is still tanked. Some restaurants are open for limited seating and hopefully more will follow. Among honey-dos and outdoor projects, I have made some progress on the roundhouse. The front and rear walls are complete. A dry run was done to see how all the walls fit together as a unit with the floor and roof support assemblies. 

Next was to add some locomotives in the stalls to get an idea of how much room I will have for interior details. I added two Big Boys and a Challenger since they are the largest I have.


I'm still waiting on the embossed brick sheets to arrive. They're suppose to be here by the 25th - that's 9 days. I won't make any more progress until I decide what type of brick finish I'm going to use. So until then . . . keep your hand on the throttle and your eyes on the rail.

02 May 2020

8. Quarantined progress

I was finally able to place the order for the basement windows. They should be done about the 10th of May and hopefully I'll get the installer to expedite the installation. I was told back in February they were 4 months behind for installation. In the meantime and after several rain storms, I was able to find the source of the water infiltrating the basement wall (a crack) and sealed it by spreading a coat of construction adhesive over the crack on the outside and after several more rain storms, wa-la! No more leaks. Thank God that was an easy and cheap fix!

Now as to the progress on the roundhouse, I am constructing the two roof support assemblies out of 1/4" basswood. My friend and fellow modeler (HOn3) John Scherr, did the drawings of all the walls and floor with his Cad program so the dimensional accuracy is no longer an issue. I was having great difficulty getting dimensions to come out correctly because, I think, of the inaccuracy of a small plastic protractor. Now I have perfect drawings to work from.

I first started construction by making the roof support assemblies. I distressed the basswood with a fine saw before coloring it with some black and burnt umber acrylic paint diluted with about 4 parts water. I then wiped off the paint to give it a lighter appearance. I placed a piece of wax paper over the drawing template so that any excess glue would not stick to the drawing.  Before installing them on the floor of the roundhouse, I will probably dry brush them with some gray paint to give them a more aged look. Both assemblies turned out identical in size thanks to the excellent drawings I had to work with.


After completing the roof support assemblies, I then tackled the 2 side walls. Again, using John's drawings, I laid out the template on a 12 x 24 inch sheet of .080 styrene. After transferring the outline for both sides to the styrene, I began the process of cutting them out. The windows were a killer to say the least. After drilling out the center portions, I cut away most of the remaining material with an exacto knife. I then fine tuned the edges with a nibbler. First time using it and it's a great tool. I then did a little filing to make a perfect fit for the windows. Next time, I will not drill out the centers, but instead drill 4 small holes near the inside corners of the window openings and then use a dremel and cut-off disc to remove the center mass. Then I will use the nibbler. Live and learn.


The final step was to install some .080 x 5/16" strip styrene around the edges. I'm not sure, but I think the 4 vertical pieces will represent concrete columns as opposed to brick. The majority of the structure will be brick but I am as yet undecided as to how it will be represented. My options include homemade decals using photos I took of a brick wall on a building at Lincoln University in Jefferson City, photo paper with printed brick, or embossed paper bumpy textured stone brick wall (at least that's what I ordered). Obviously there will be more to come on this topic.


Next up will be the construction of the front and rear walls, so stay tuned.

24 March 2020

7. Coronavirus Down Time

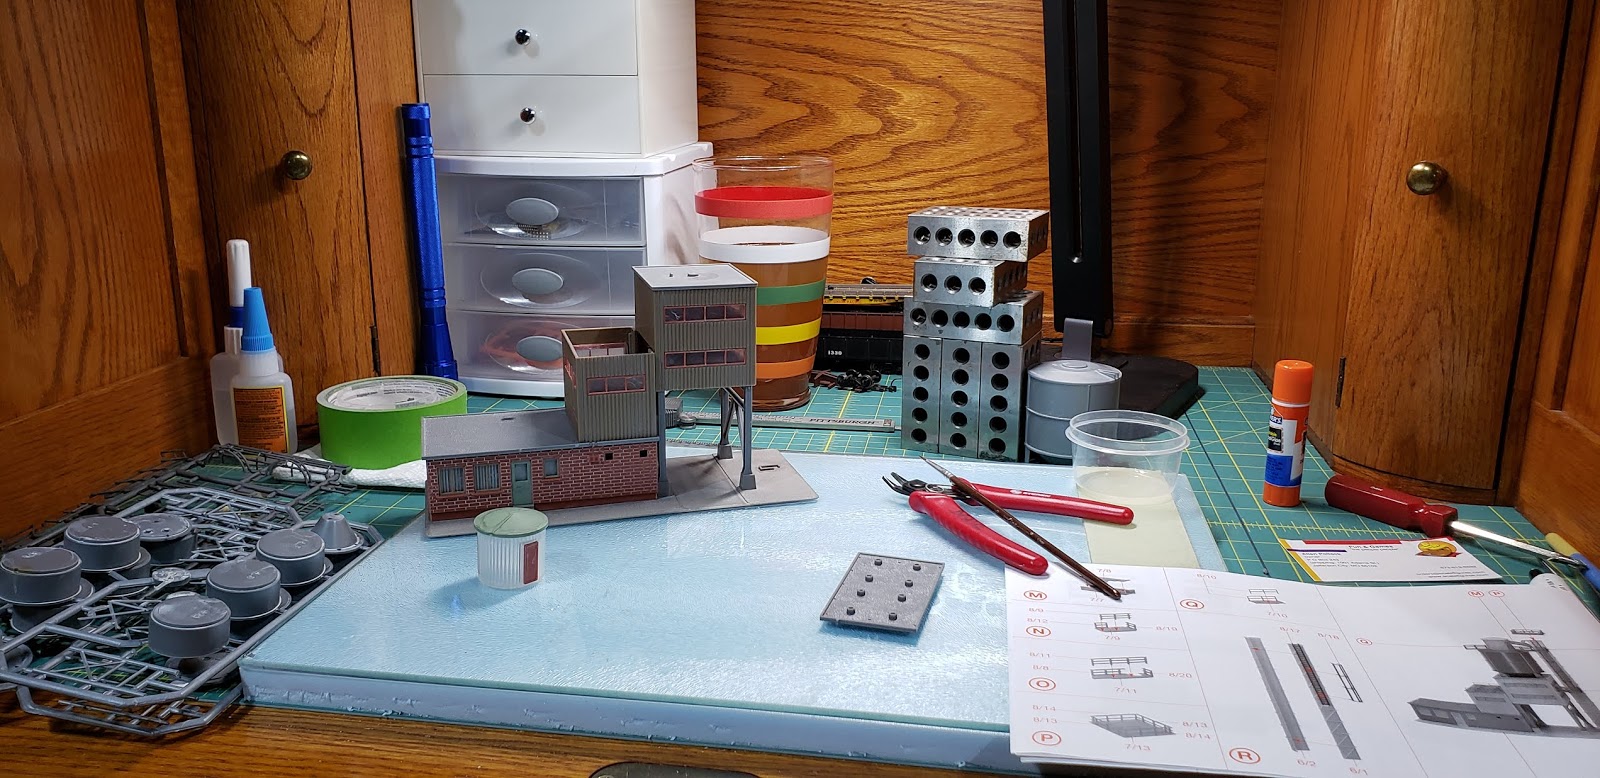
 Well, as all of you know by now, most of us have been semi-quarantined to our homes because of the virus. As a result, my insulation installation project has ground to a halt until I can get the replacement windows ordered and installed. So in the interim, I have been working on some structures that will be going on the layout. The first one, a Faller kit, is a cement mixing plant. Here are a couple of photos of the construction and final weathered plant. The photo on the right does not show the weathering as clear as shown in the center photo. I used a white wash on this structure since it will be sitting amongst the gravel, sand and cement, which I figure will create a lot of white dust. I haven't named this industry as yet. Like the previous layout in Utah, names of industries, buildings, rivers, etc., will be named after family members. I want to try my hand at making my own decals before I put any signs up. Now that I think about it, I should have waited till the sign was put on the silo to do the weathering. The next structure will be the roundhouse, which I am building from scratch. See you on the next post.


14 March 2020

6. Insulation installation

To date I have installed insulation on 2 of the 3 primary walls (west and north). These photos show the 2 inch foam insulation held in place by horizontal 1x4 boards and then vertical 1x4 furring boards on top.  Some will ask why I didn't just use the vertical boards to hold the foam insulation in place and forgo the horizontal boards. By using two layers of 1x4 boards, I create a 3/4" chase both vertically and horizontally to run my electrical conduit and the main water line from the well tank to the other end of the basement where the water heater and softener are located . Also, my electrical boxes can be installed flush with the interior drywall surface and only require me to remove little to no foam behind the boxes (depending on the size box used) instead of digging out almost all of the foam to allow the box to be recessed sufficiently to be flush with the interior drywall surface.


I installed half of the insulation on the east wall Friday. It rained Friday night and Saturday morning and when I went to install the rest of the insulation - you know where this is going, right - I found 2 puddles of water on the floor, one on the north wall that had the insulation glued and nailed in place and one on the east wall in an area to be finished today. Here are photos showing the 2 areas. The water has collected inside the area I marked with a Sharpie and is a little hard to see, but it's there. The leak on the unfinished wall is readily identifiable as a crack on the outside of the wall that can be easily sealed. Unfortunately, the leak on the north wall that is already insulated will require me to dig out away from the foundation to find the location of the leak and seal it. Not looking forward to that task!


Also, while working on the north wall around the two windows, I decided the 40/50 year old single pane, aluminum framed windows should probably be replaced at this stage. I removed the security bars that were on them and have framed around them and now waiting for replacement windows to be installed.


With the main line track elevation at about 50", it will be about half way up the larger window. Then with a 20-24 inch backdrop height, the window will be about 90% covered while the railroad is up. Whenever it is removed, there will not have to be any repairs made to the walls or windows since the bench work will be free standing but built against the walls.


03 February 2020

5. Preparations

First order of business was to clean up the basement to get ready for some construction. This is my starting point . . .
Once cleaned, I'm left with this . . .
If you look closely, you'll see that there is a hole in the floor coming off of one of the support poles. This was cut to connect a drain line from the new laundry room I built upstairs.
However, the day following the digging, the hole was full of water, but several inches below the bottom of the basement floor. Turns out it was an underground spring just passing thru. I abandoned the idea of connecting the drain line at this point and ran it overhead instead. I filled the hole with gravel and let it set for 9 months to see if the level of the water would rise. Once I was convinced it would not be a problem, I filled it with cement. End of story.

After spending the first winter in the house, I realized that one long wall and part of another that are exposed to the elements (walkout basement) conduct quite a bit of cold. So I decided I should finish off this section of the basement with insulation and drywall. Here's the load of insulation to be installed, but first I have to do some minor wall repair and seal a few cracks to help prevent water from coming in at these points. That's all for now. Unless I run into problems, the next entry will have the insulation finished and the start of installing the furring strips to support the drywall. Adios, amigos!

02 February 2020

4. Milestone 1 - Track Plan

Yeah! The OGM track plan is complete. Since the railroad is going to be an operational railroad, the track plan was designed with that in mind and therefore wide aisles were one of my initial requirements. The railroad is a single track mainline with passing sidings designed to handle train lengths of 15 cars and two locomotives and will be operated with the NCE DCC system. I'm hoping that the budget will allow me to replace the hard wired system with radio control.

The track floor plan is basically 23x25 feet with a 5x11 feet bump-out in the northeast corner that will showcase a mountain scene with a coal mine near the top. The operating height (0' elevation) of the mainline is about 50". One helix, part hidden and part exposed, will allow access to the mine from the mainline and the staging area beneath the west peninsula that protrudes south from the north and one helix will grant access to staging below the east helix that  protrudes north from the southeast corner. These two staging areas will represent the eastern and western most points of the layout.
The era of the OGMS is modern day, however, steam locomotives operating as excursion trains will occasionally be seen crossing the layout. 

3. Acknowledgements

I want to acknowledge Bill Beranek, aka The Track Planner, as the designer of the OGMS. He graciously accepted my doubts, never criticizing, and put up with all of my questions during the design phase of the OGMS. Bill wasn't afraid to tell me what would work and what wouldn't when I said I want 'this' in my track plan. Thank you Bill for your expertise and the final design of the OGMS. I am 100% satisfied with your product. If you ever need a reference, don't hesitate to use me. I also want to thank the members of the Mid-Mo Mavericks lunch group for pushing me to 'get started'.

31 January 2020

2. Dedication

I want to dedicate my railroad layout to my wonderful wife, Kay, who graciously tolerates and encourages me in my hobby endeavors. She says she at least knows where I can be found if and when she needs my assistance with some household task. I am truly blessed by having her in my life. Oh, and not to mention the fact that she owns 50% of the shortline stock.

01 January 2020

1. History

In 2017, the original Ozark and Green Mountain Shortline (OGMS) Railroad filed for Chapter 11 bankruptcy and expected several years to reorganize and raise the needed capital to regain solvency. During that process, the railroad was purchased by the Jolie DeeAnn Railways and large amounts of their capital were infused into the revival and expansion of the original OGMS railroad, to include an increase in the operating area, thus giving the railroad greater access to a number of large industries. In 2019, trackage rights to the BNSF and UP were negotiated and granted for use by the OGMS where needed. The OGMS now has a new beginning. I hope you enjoy watching as the new Ozark and Green Mountain Shortline comes back to life.